

Reviving your bath through bathtub reglazing can breathe new life into your bathroom, transforming it into a space of serenity and cleanliness. However, before embarking on the reglazing process, addressing any existing cracks and chips is crucial to ensure a smooth, flawless finish. Here’s a concise guide on how to prepare your bathtub for its rejuvenation.
Step 1: Assess the Damage Begin by thoroughly cleaning your bathtub to identify all cracks and chips clearly. This step is vital for ensuring that no damage goes unnoticed before the reglazing process begins.
Step 2: Gather Your Materials You will need a high-quality bathtub repair kit, which typically includes epoxy or polyester filler, sandpaper, and sometimes a hardener. Choose a kit that closely matches the color of your tub, although color accuracy becomes less critical if you plan to reglaze the tub in a new color.
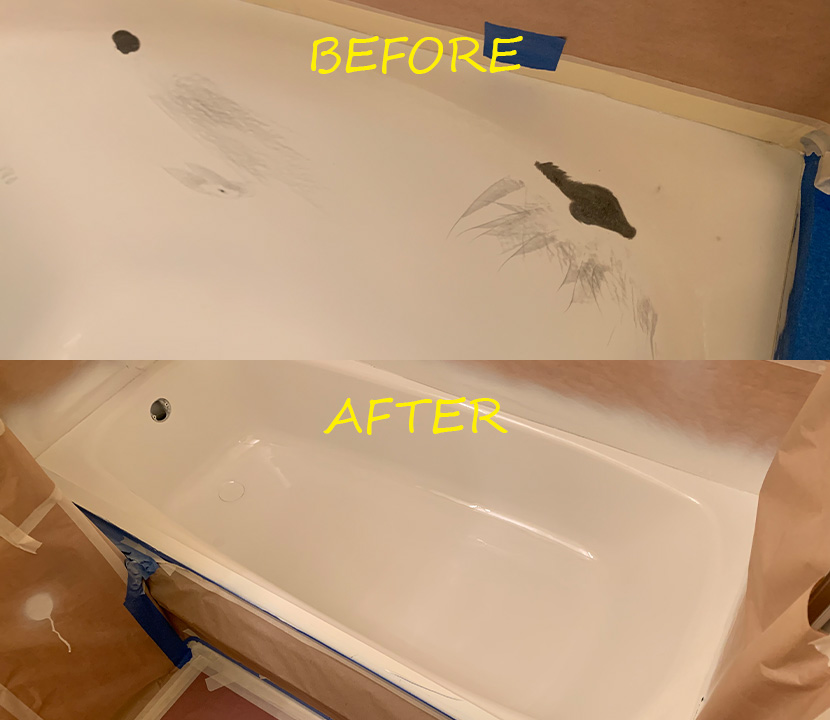
Step 3: Apply the Filler Following the instructions provided with your repair kit, fill the cracks and chips with the epoxy or polyester filler. For deeper cracks, you may need to apply multiple layers, allowing each layer to dry thoroughly before applying the next.
Step 4: Sanding Once the filler is completely dry, sand the repaired areas with fine-grit sandpaper until they are smooth and level with the rest of the bathtub’s surface. This step is essential for achieving a uniform texture across the entire tub.
Step 5: Clean and Prep for Reglazing After sanding, remove all dust and debris from the tub’s surface. Your bathtub is now ready for reglazing, providing a perfect canvas for a beautiful, new finish.
Addressing cracks and chips prior to reglazing not only ensures the longevity of your bathtub’s new look but also prevents future water damage. By taking the time to properly prepare your tub, you set the stage for a stunning transformation that will enhance the overall appeal of your bathroom.
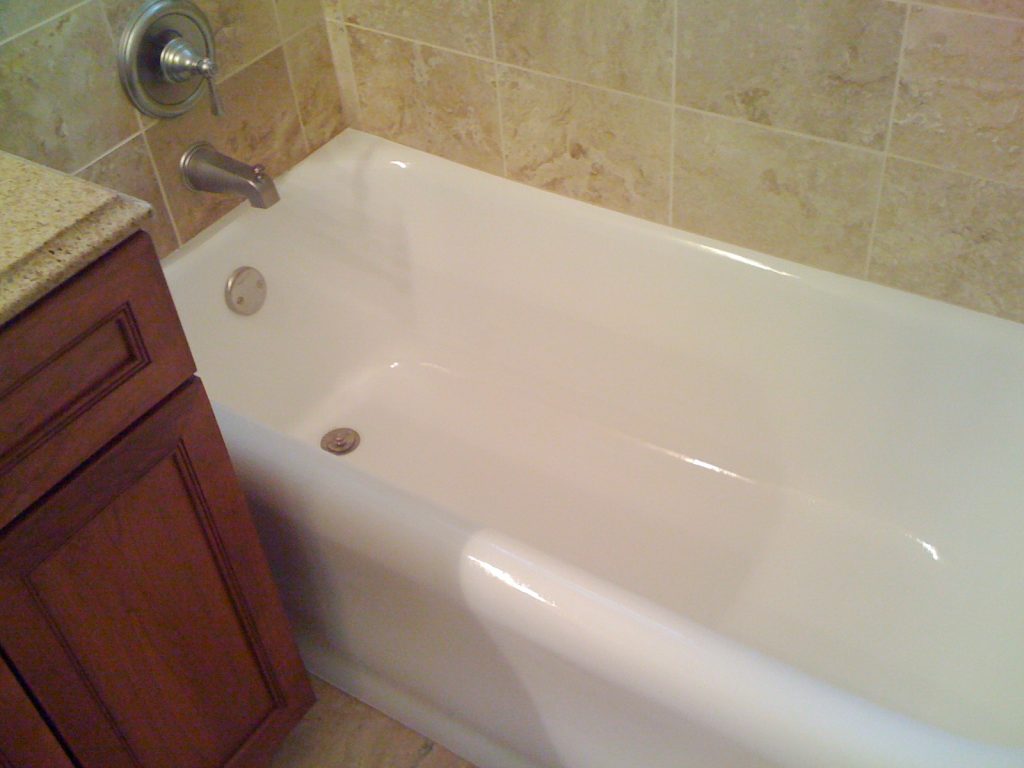
Before we bring any tub back to a glossy, like-new finish, we treat the surface underneath — because bathtub reglazing is only as durable as the repair work beneath it. Hairline cracks, deep chips and worn spots all get filled, sanded and feathered smooth so the new coating bonds to a sound, uniform base. Skipping this step is the most common reason a cheap refinishing job peels within months, and it's exactly why our bathtub refinishing process starts with honest crack and chip repair rather than a fast spray-and-go.
Our technicians rebuild damaged areas with reinforced fillers rated for the constant moisture and temperature swings a bathroom sees, then prime and re-level the patched zones until they disappear. Once the shell is solid, tub refinishing seals everything under a hard, non-porous topcoat that resists staining, chipping and daily wear. For customers who booked our tub refinishing in Brooklyn, this repair-first approach is what lets a decades-old tub look and feel brand new again.
The payoff is a smooth, easy-to-clean surface that keeps its shine for years instead of weeks. Whether your tub has a single chip or a network of stress cracks, careful prep is the difference between cosmetic cover-up and lasting restoration — and it's the standard every bathtub reglazing project of ours is built on.
Homeowners in Bay Ridge run into this all the time, and it is exactly the kind of job we handle nearby: tub and tile restoration in Bay Ridge. For surrounding areas, start with Brooklyn. You may also like: Expert Tips for Maintaining Your Newly Reglazed Bathtub.