A cracked tile can be fixed. You can replace a single tile, or even several, without taking down the whole wall or floor. Below is the order of work, the tools you need, and what to do when the old tile is no longer made.
Why tiles crack
Most cracks come from one of three things. The first is impact: something heavy dropped on a floor tile, or a hard knock against a wall tile. The second is movement: the base under the tile shifts, the house settles, and the tile, which cannot bend, breaks along the line of stress. The third is hollow spots. If the adhesive was spread unevenly or there was too little of it, air pockets stay under the tile, and the tile cracks under footsteps or furniture.
A hollow sound when you tap a tile is not always a problem by itself. But it is worth paying attention to when only part of a tile sounds hollow, when neighboring tiles sound different, or when a dull sound appears where there was none before. Some flaws in an old floor are not visible at first, and we wrote separately about how ceramic floor defects can hide.
Can you replace just one tile?
Yes. You can replace a single bathroom tile, and the same method works if several tiles are damaged. Before you start, take photos of the surface: one general shot and one close-up. This way you have "before" pictures and can compare later.
Whether to replace or repair depends on the damage. A small chip can often be filled. Replacing makes sense when:
- the tile is loose or has come away from the base;
- the crack runs through the whole tile;
- the pattern is too complex to restore;
- the chip is large and will stay visible after repair.
Not every defect is a disaster, and many are cosmetic. More on this in the article on defects in tile and tub surfaces.
Tools and materials
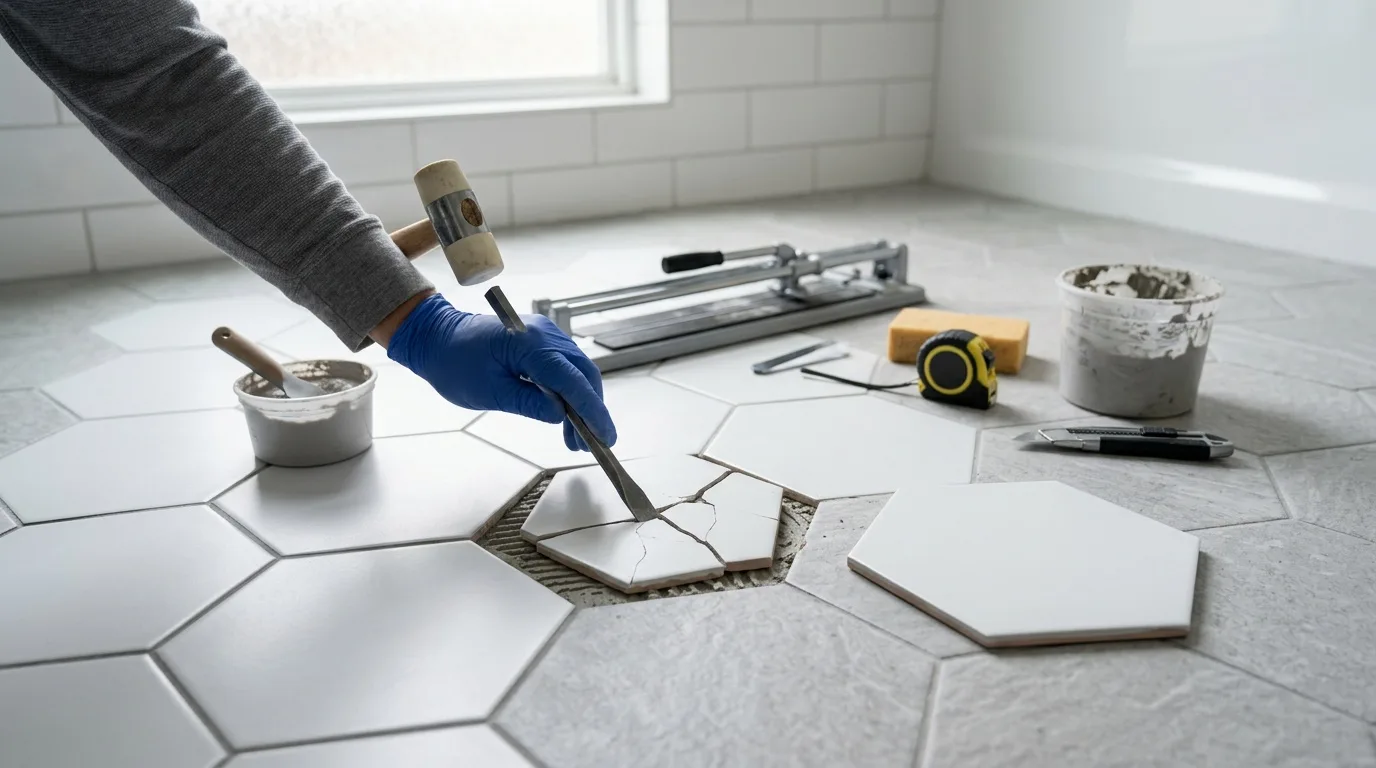
Tools
- Tape measure. You need it to measure the tile and the gap between tiles. The gap is usually 1/16 to 1/8 in, and you need to know it to pick the right spacers.
- Hammer. A medium-weight one with a solid handle, to break up the cracked tile.
- Chisel. A masonry chisel with a 3/4 to 1 1/4 in blade, plus a second narrow one, 3/8 to 5/8 in, for tight joints. The chisel takes out small fragments, old grout and old adhesive.
- Putty knife. Stiff metal scrapers, a wide one and a narrow one, to clean the edges of the good tiles next to the gap from adhesive, grout and dirt.
- Grout saw. For wide joints, over 3/8 in, a diamond blade is used.
- Wire brush and a shop vacuum. A regular household vacuum does not handle construction dust well.
Materials
- New tile. It has to match the old one in size, pattern and texture. If the exact tile is not available, take the closest you can find. It helps to bring pieces of the old tile to the store.
- Tile adhesive. You need only a little, one small bag is enough.
- Spacers of the right thickness to keep the joints even.
- Grout of a matching color. You can match it against the leftover old grout.
Safety
Cover the tub, toilet, sink, pipes, outlets and switches with plastic sheeting and painter's tape. Open the windows. You will need goggles, a dust respirator (a medical mask does not stop fine cement dust), gloves, knee pads for floor work, heavy clothing and closed shoes.
How to remove a single bathroom tile
Step 1. Take out the grout
This step is often skipped, though it makes the whole job easier. All grout around the damaged tile comes out first, so that cracks do not spread to the neighbors. Clean the joints as deep as you can, by hand with a narrow chisel or with a grout saw. Once the tile is no longer locked to the tiles around it, it comes out more easily.
Step 2. Break and remove the tile
Strike the cracked tile in the center, so the blows do not reach the good tiles next to it. Then work out the pieces with the chisel. Set the chisel under the edge of a fragment at an angle and use short, controlled blows. The aim is to lift the pieces off the base, not to hammer them into it. To keep the neighboring tiles clean, put painter's tape along their edges.
Step 3. Clean the base
Scrape off the old mortar and adhesive with a wide metal putty knife held at a low angle. Stubborn spots can be loosened by tapping the handle of the putty knife with the hammer. Clean the corners with a narrow chisel or a screwdriver, and brush out the crumbs. Check that the spot is flat: there should be no lumps of old mortar and no deep gouges. Fill deep holes in the base with a repair mortar. Vacuum the joints and the corners.
Step 4. Set the new tile
- Prime the base if the adhesive's directions call for it.
- Spread the adhesive in an even layer, matched to the depth of the opening. The tile has to sit flush with the rest of the surface. You can still adjust it until the adhesive begins to set.
- Put spacers around the edges for even joints and let the adhesive set for the time on its package.
- When it is dry, pull the spacers, wipe the edges with a damp cloth and grout the joints.
Floor, wall and shower tile
Wall tile
Pry the edge of the tile with the chisel or a small pry bar and tap gently with the hammer. On drywall, press less on the tool and start gently, so you do not punch through the wall. If the tile is set in modern adhesive, it usually will not come off whole; on old mastic there is more chance, especially if you warm the surface with a heat gun.
Floor tile
On the floor the main task is not to damage the subfloor. To replace a broken tile on a bathroom floor, hold the chisel at a sharp angle to the edge of the tile. When the edge lifts, slide the chisel under it and use it as a lever. Be especially careful with a heated floor: turn its power off at the breaker first, since a wrong blow can damage the heating system and the wiring under the tile.
Shower tile
In a bathroom, and in a shower above all, all materials have to be moisture-resistant. For walls this means epoxy adhesive or moisture-resistant grout; for floors, epoxy products are a good choice. After a repair it is worth sealing the surface. Can you repair a cracked shower tile instead of replacing it? If the crack is small and the tile is firm, yes. If the tile moves or water gets behind it, it has to come out. When water keeps showing up below the shower, the cause may be elsewhere, and we covered why a shower pan keeps leaking.
Matching old or discontinued tile
Finding the same tile is often the hardest part. Here is where to look:
- Spares. Check the basement, the closet or the garage for tiles left over from the original job.
- Salvage. A tile can sometimes be taken from a spot nobody sees, for example behind a vanity or under an appliance, and that spot finished with a different tile.
- Reproductions. Reproduction tiles are made for older patterns and colors.
- The closest match. Bring a piece of the broken tile to the store and compare in daylight.
Keep in mind that a new tile can differ from the old one both in thickness and in color, even when the pattern looks the same. This is described in the National Park Service preservation brief on ceramic tile floors. A thicker or thinner tile means more or less adhesive under it so that it sits flush.
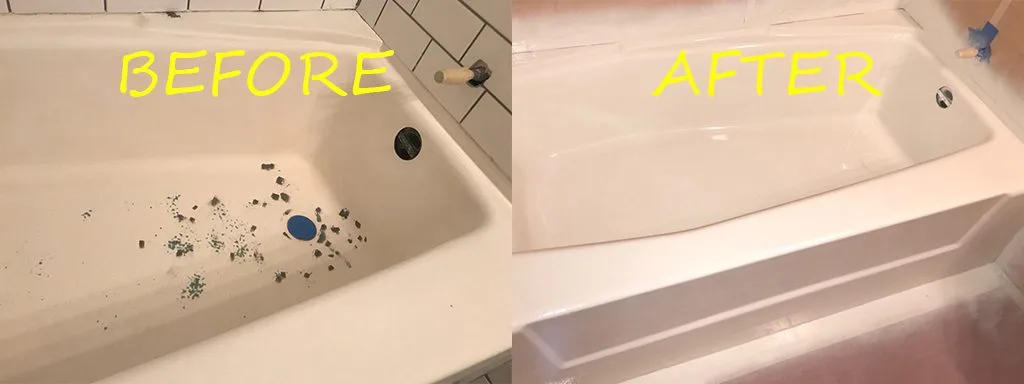
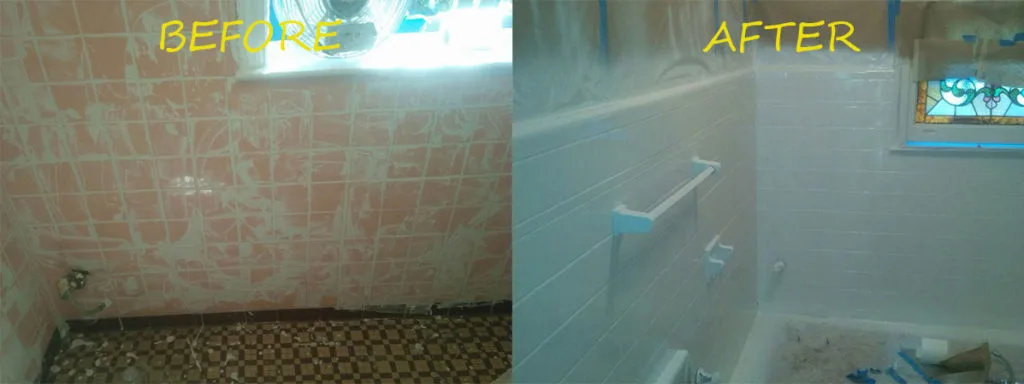
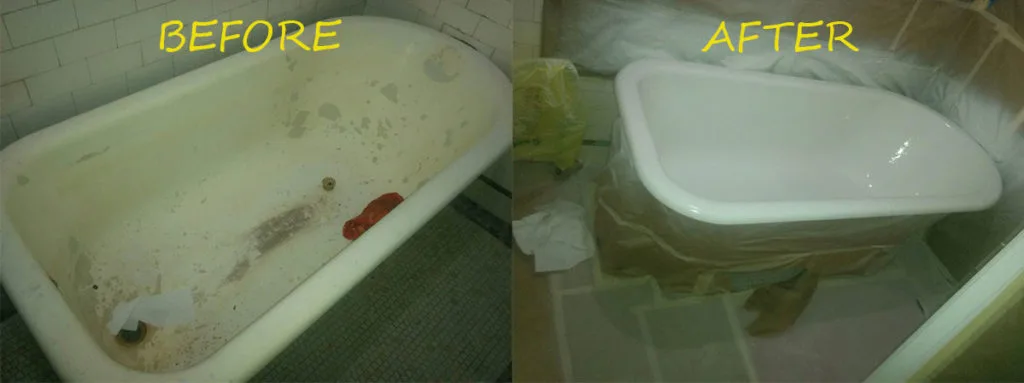
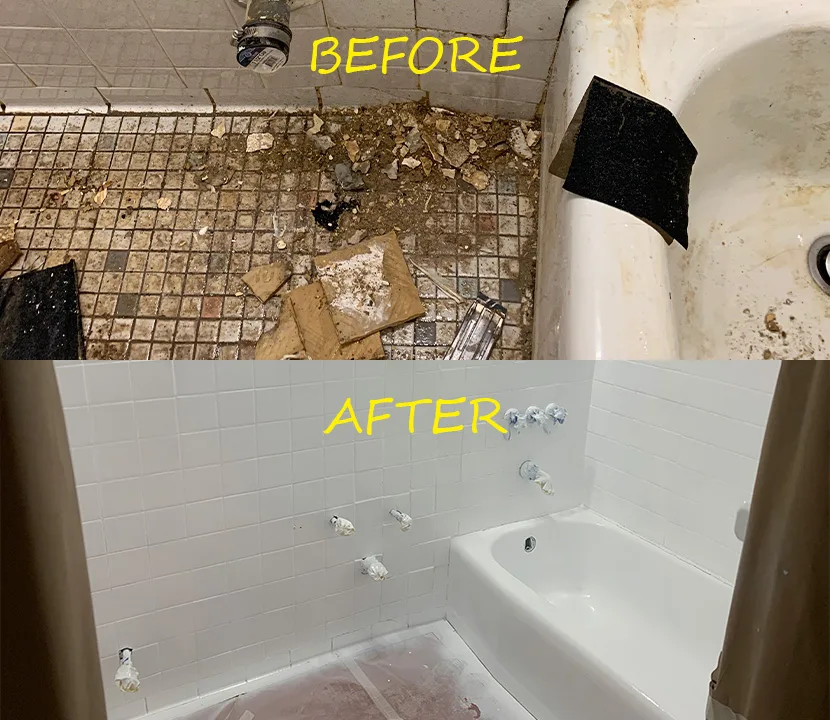
If no matching tile can be found, the whole wall can be reglazed to one color.
When we replace a tile, we remove the damaged pieces, set the closest match and regrout. With no match at all, reglazing evens out the old and the new tiles, and the color can be different from the original. You can read how changing your tile color works.
When one crack signals more
A single crack is not always a single problem. Look at the area around it before you start. The base needs checking when:
- the tile is loose, chipped or coming away, especially on the floor;
- several tiles nearby sound hollow;
- the old plaster behind a wall tile is soft or crumbling;
- after cleaning, the base is uneven, with lumps or deep holes;
- the subfloor or plaster is damaged and needs repair;
- the grout is wet or dark around the tile, and water may be getting under it.
If the tiles come off in whole pieces, this points to poor bonding with the base. With good adhesion they break into small pieces. In such cases replacing one tile will not solve the problem.
Small chips: repair without replacing
Glazed ceramic tile is usually easier to repair. Porcelain tile is very dense, so epoxy products work better on it; ordinary filler and grout hold worse. Before any repair, wash the surface with dish soap, let it dry, degrease with rubbing alcohol or acetone, and tape off the tiles around it.
- Grout suits chips at the edge of a tile or at the joint. It is matched to the joint color, and on glossy tile a clear sealer goes on top.
- Filler and paint suit deep chips on walls. The paint is matched to the tile and applied in two thin coats.
- Epoxy or polyester adhesive is the strongest option for floors, porcelain and wet rooms. Epoxy is stronger, polyester hardens faster and stays matte.
- Repair wax works on small chips on walls in low-traffic spots.
- A marker or acrylic paint is good only for very small marks.
A patterned tile is harder: the dent is filled first, then the pattern is painted back with acrylics.
DIY or a pro
One tile on a solid base, with a spare on hand, is a job many owners do themselves. It is a different story when there is no matching tile, when the tile sits next to the tub or in the shower, when the base is hollow or wet, or when the floor is heated. Then it is easier to hand it over. Our tile replacement service covers removing the broken pieces, setting the new tile and regrouting, and our tile reglazing service is the way out when the old color cannot be matched. We work in all five boroughs, including tile work in Mott Haven, Bronx, and nearby New Jersey. To ask about your tile, send us a request here.